
If you have ever visited a New York bakery, you probably know how famous black and white cookies are. They are soft, cakey, and give you both vanilla and chocolate in every single bite.
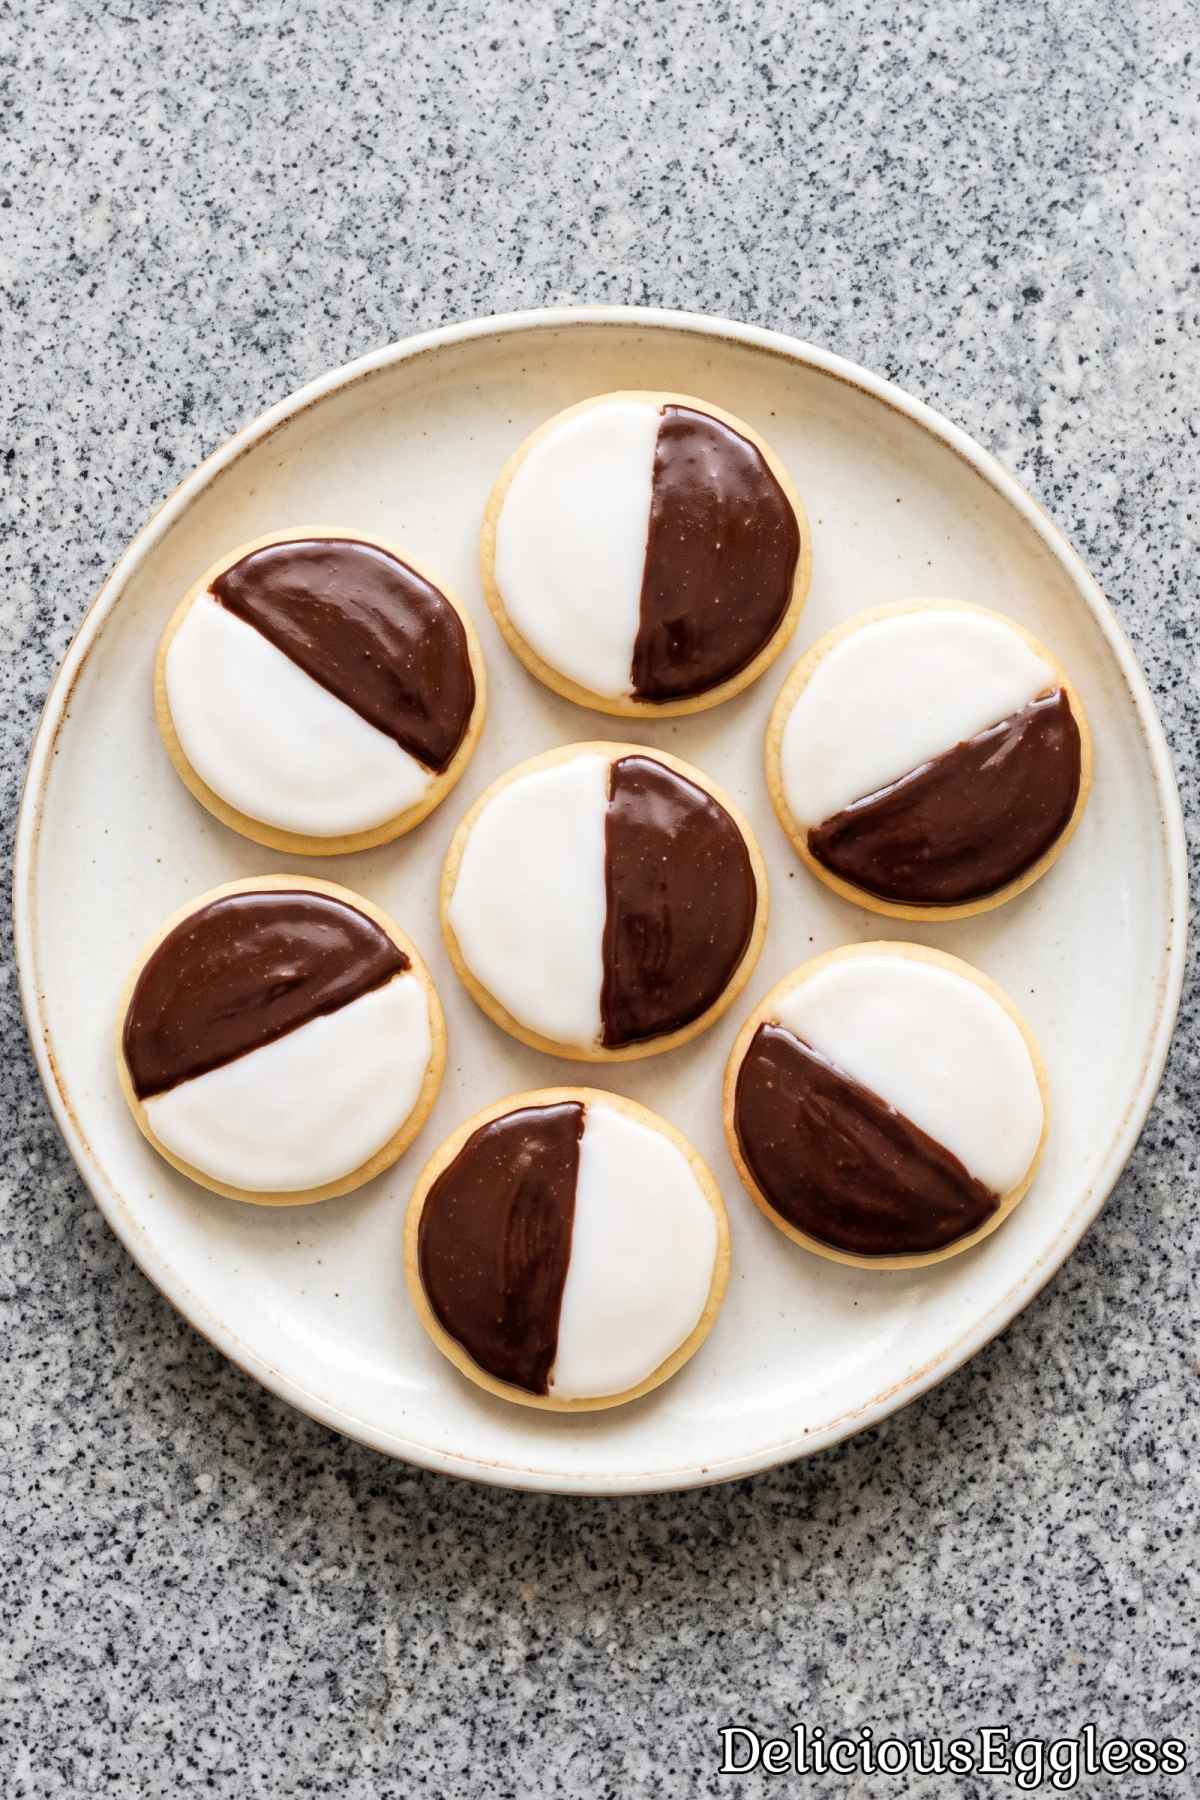
Traditional versions rely heavily on eggs to get that pillowy texture, but this recipe is completely eggless. It is perfect for anyone who manages an egg allergy or simply prefers baking without eggs at home.
A spoonful of sour cream keeps the base wonderfully tender, so you never have to worry about the cookies turning out dry or dense.
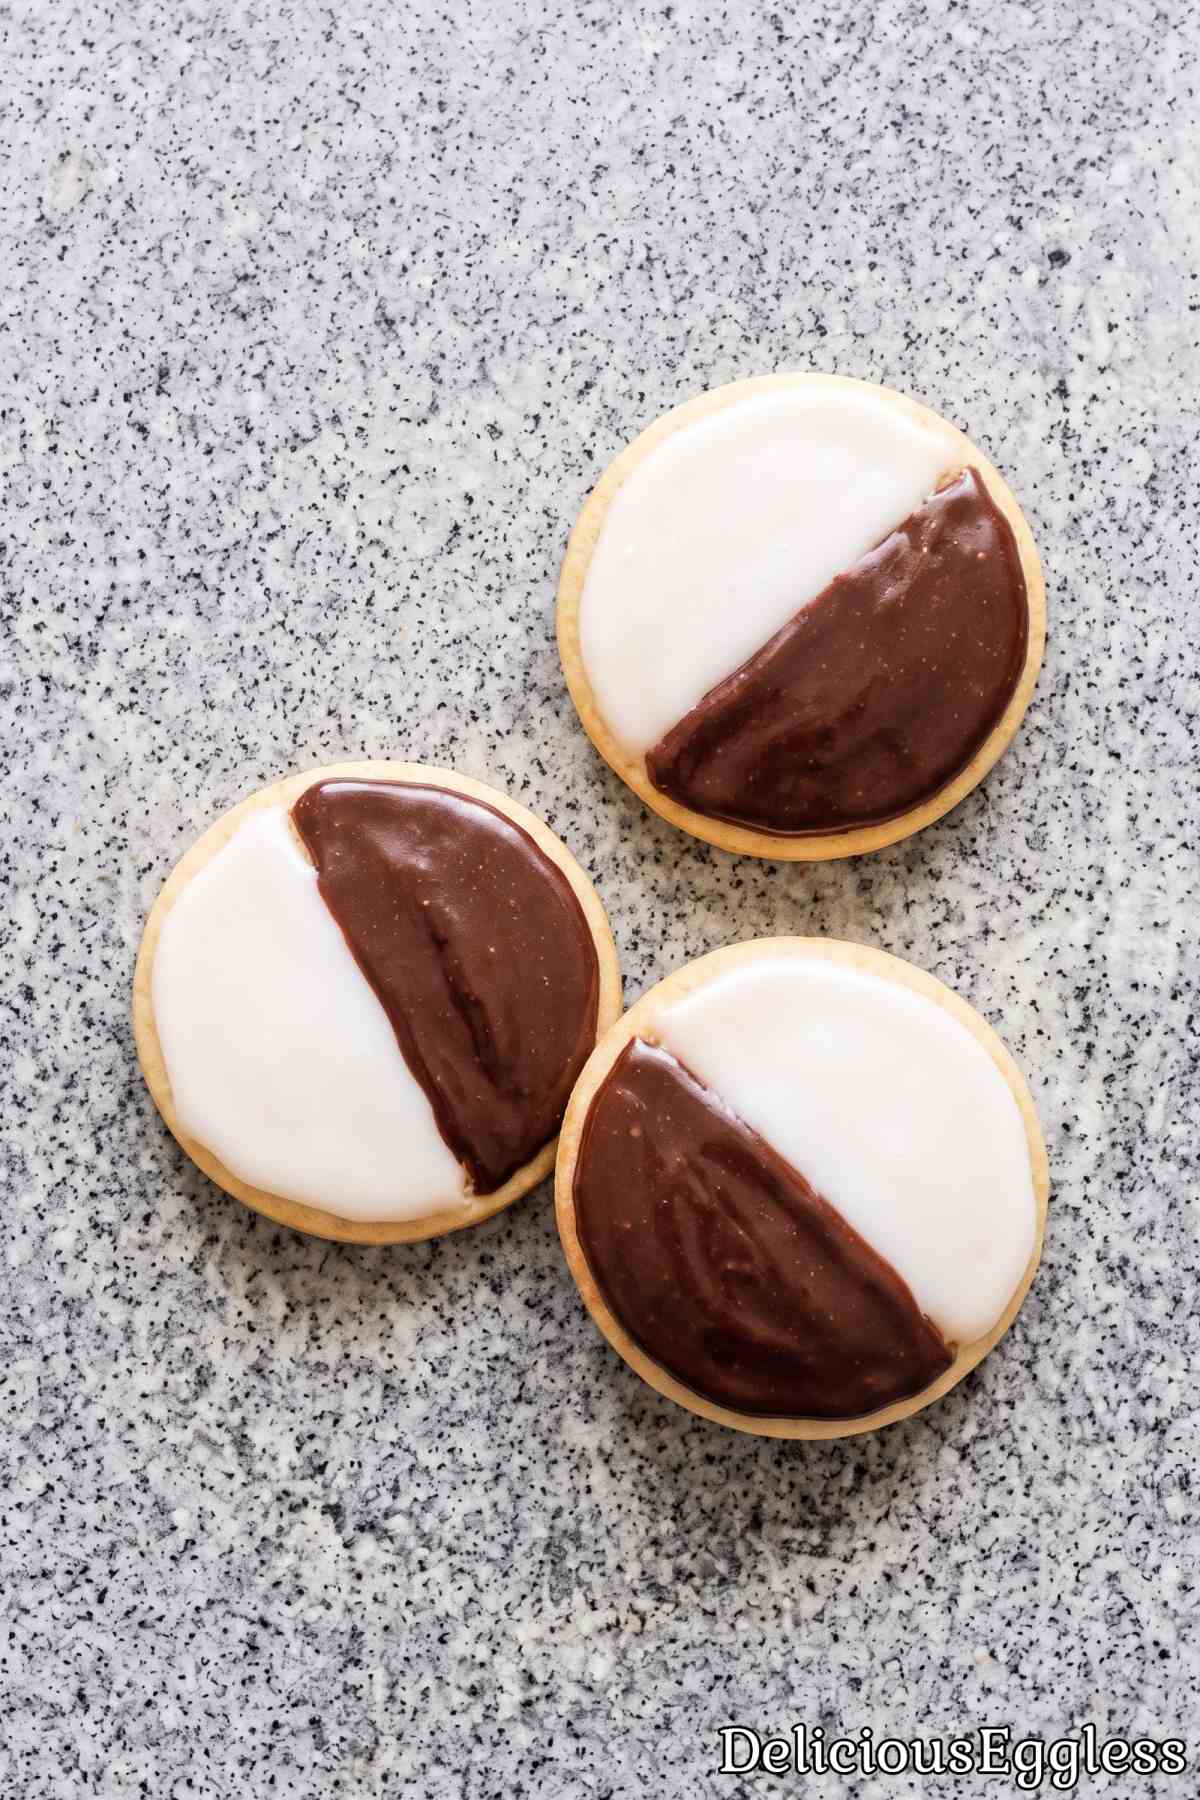
I also add a small touch of lemon extract to the dough, which gives them that authentic bakery flavor you expect.
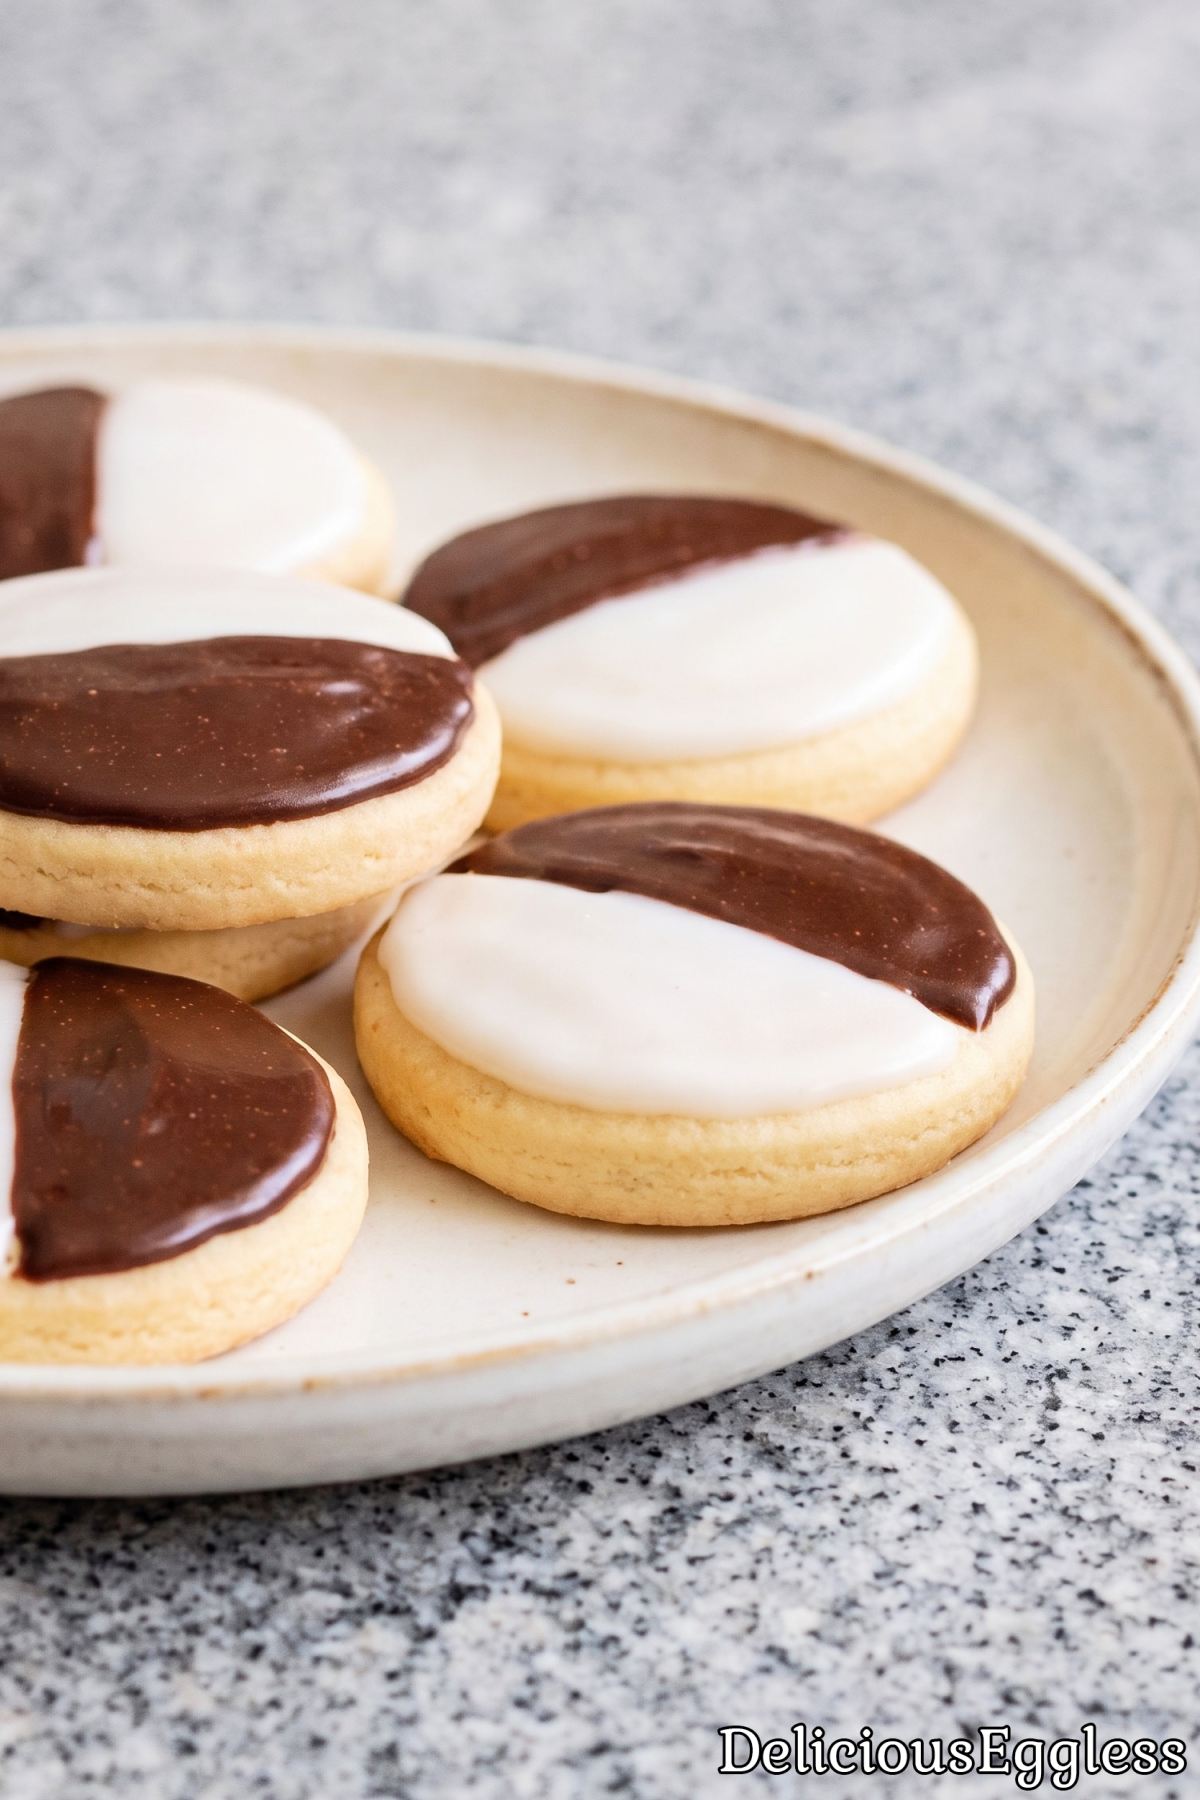
Spreading the glossy icing down the middle is very easy to do, and the finished cookies look wonderful on any dessert plate.
Why You’ll Love It
Authentic Bakery Texture – Sour cream and cornstarch create a soft, melt in your mouth cake texture without needing any eggs.
Signature Flavor Profile – A subtle hint of lemon extract brings that classic New York deli flavor to life.
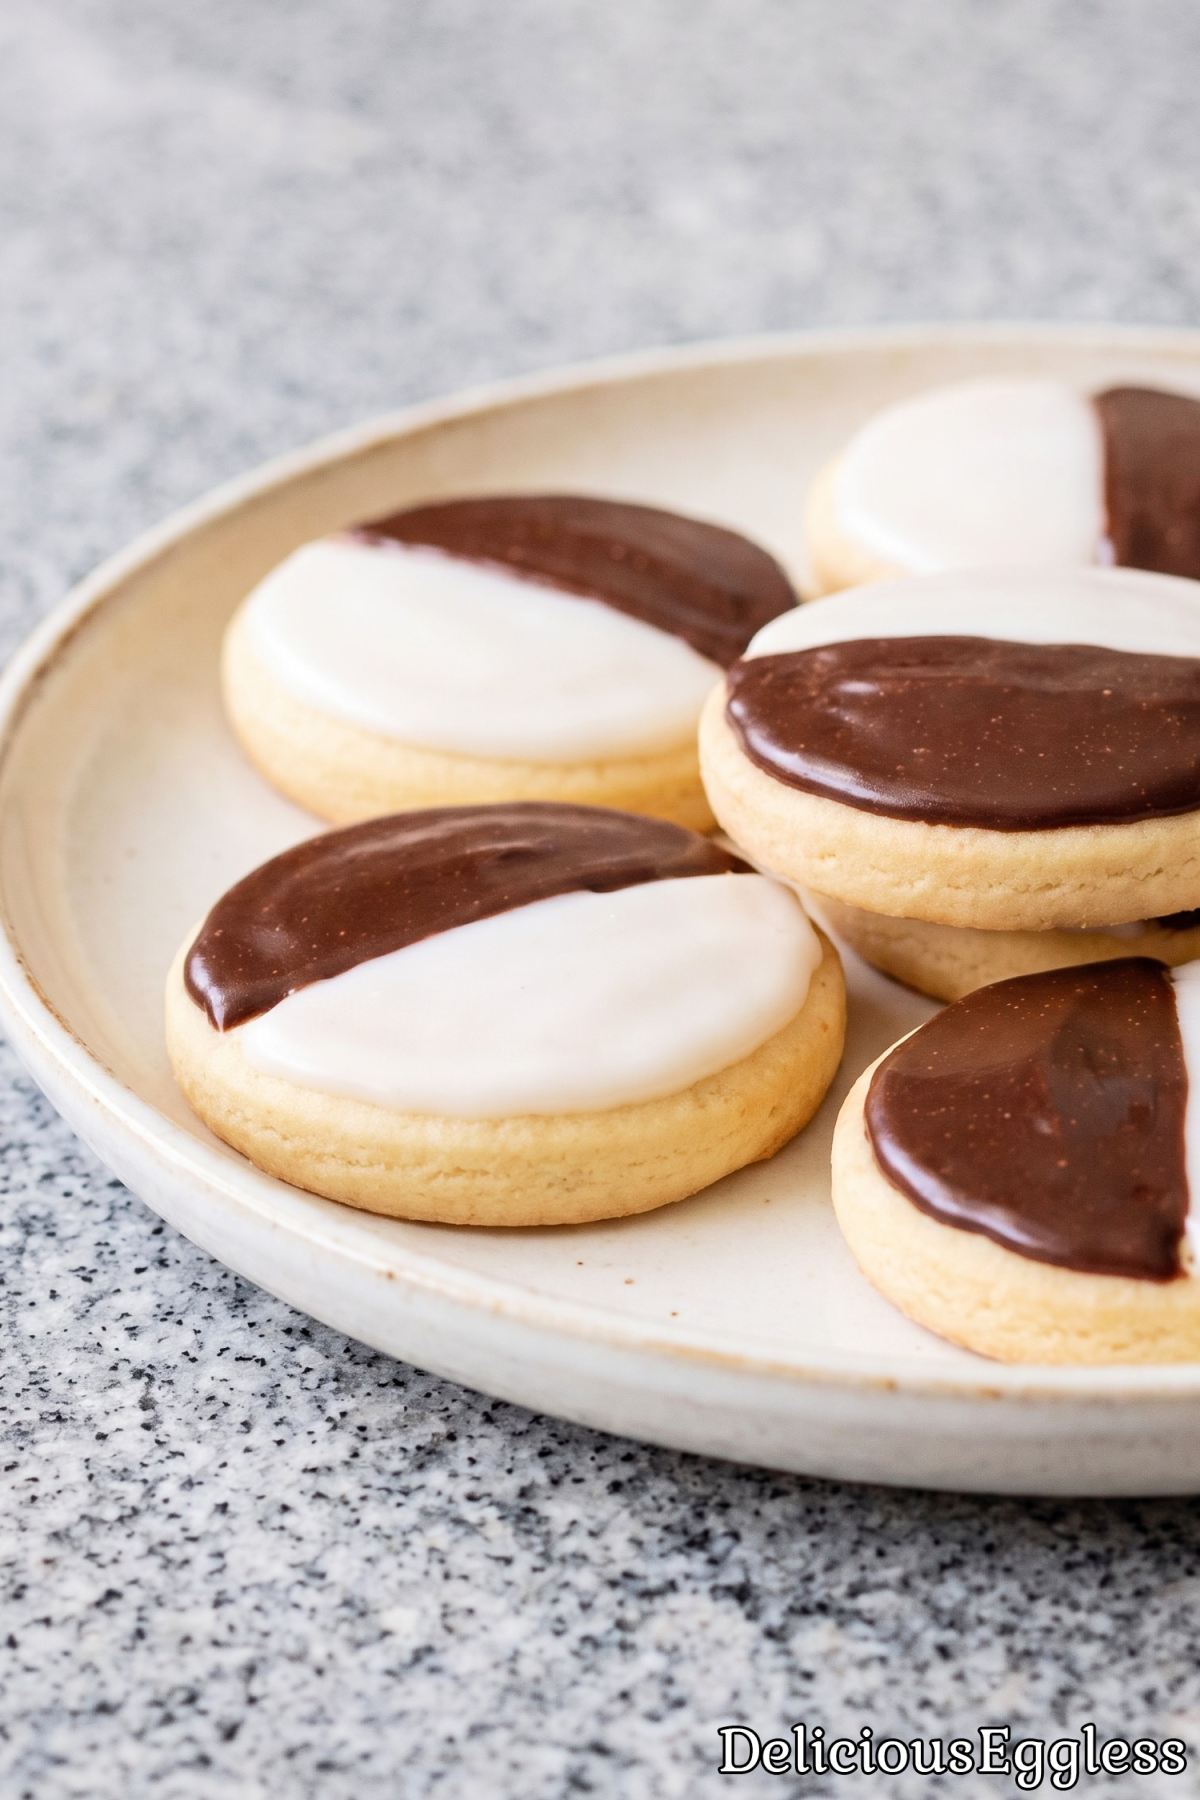
Rich Chocolate Flavor – Melted dark chocolate and cocoa powder combine to create a super decadent, deep fudge icing.
Glossy Bakery Finish – A splash of corn syrup gives both icings a gorgeous, professional shine that sets smooth.
Ingredient List
For the Cookies
- 1/2 cup Unsalted Butter, Softened
- 3/4 cup Granulated Sugar
- 1/4 cup Sour Cream
- 1 1/2 tsp Vanilla Extract
- 1/4 tsp Lemon Extract
- 2 cups All-Purpose Flour
- 2 tbsp Cornstarch
- 1 tsp Baking Powder
- 1/2 tsp Baking Soda
- 1/2 tsp Salt
- 1/3 cup Milk
For the Icing
- 3 cups Powdered Sugar
- 1/4 cup Hot Water, Divided
- 2 tbsp Light Corn Syrup
- 1/2 tsp Vanilla Extract
- 1/4 cup Unsweetened Cocoa Powder
- 1 oz Dark Chocolate, Melted
Directions
Step 1
Preheat the oven to 350°F and line two baking sheets with parchment paper.
Step 2
In a large bowl, beat the butter and sugar with a mixer on medium speed for 2-3 minutes, until light and fluffy. Beat in the sour cream, vanilla and lemon extract until smooth.
Step 3
In a separate bowl, whisk together the flour, cornstarch, baking powder, baking soda and salt. Add the dry ingredients to the butter mixture in three additions, alternating with the milk and mixing on low just until smooth.
The batter will be thick and soft, like a very thick cake batter.
Step 4
Scoop 1/4 cup mounds of batter onto the prepared sheets, spacing them 3 inches apart with no more than 6 per sheet. Use the back of a damp spoon to gently spread each mound into a 3 inch round.
Step 5
Bake for 14-16 minutes, until the edges are barely golden and the tops spring back when lightly pressed. Cool on the sheet for 5 minutes, then transfer to a wire rack to cool completely.
Step 6
In a medium bowl, whisk the powdered sugar, 3 tbsp hot water, corn syrup and vanilla until thick, smooth and glossy. Transfer half of the icing to a second bowl and stir in the cocoa powder, melted chocolate and remaining 1 tbsp hot water.
Cover the chocolate icing with plastic wrap so it stays soft while you work.
Step 7
Turn the cooled cookies flat side up. Using an offset spatula, spread the vanilla icing over one half of each cookie and let it set for 15 minutes.
Step 8
Spread the chocolate icing over the other half, adding a few drops of hot water if it has thickened. Let the icing set for 1 hour until firm. Makes about 12 large cookies.
Tips
Ice the Flat Bottom Side
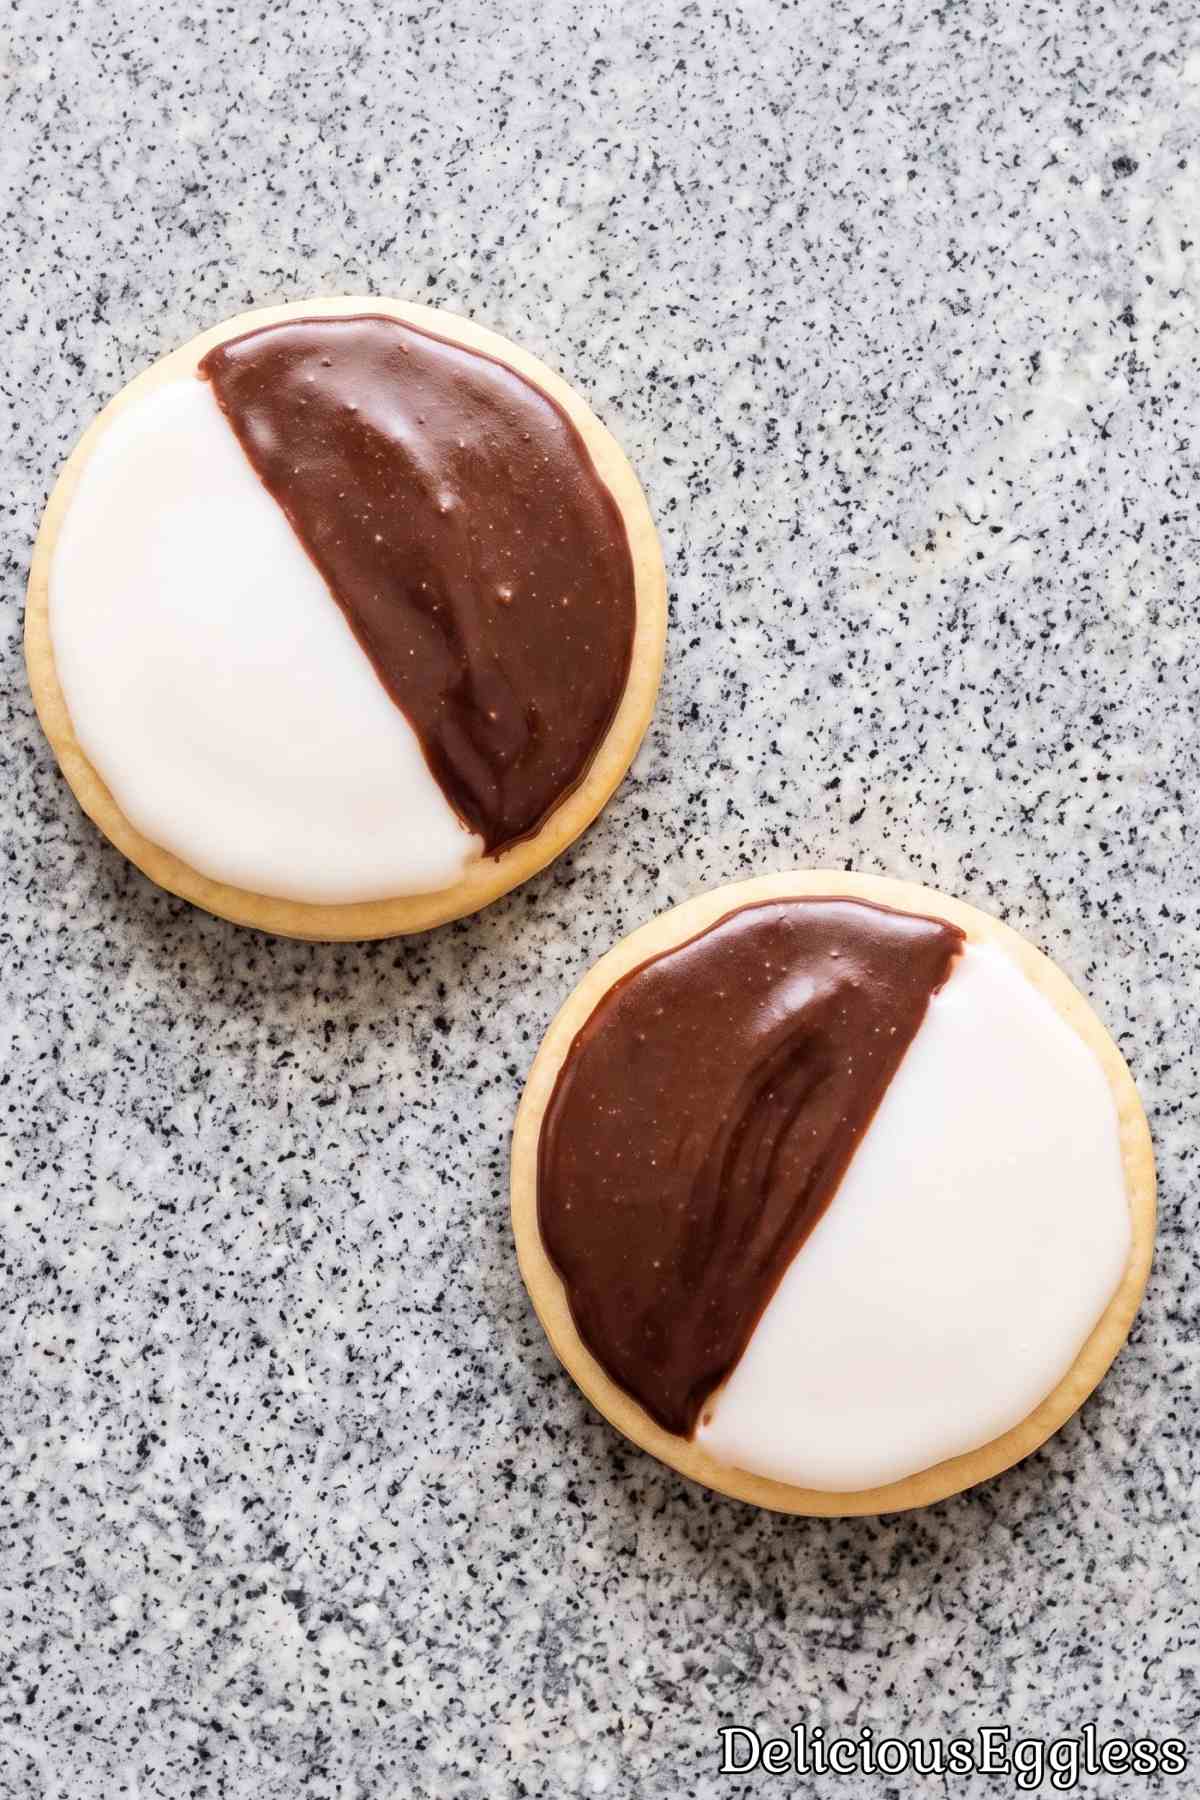
When you are ready to frost, always flip your cookies over and spread the glaze onto the flat bottom.
From my experience, icing the domed top causes the glaze to run off the edges and look messy.
The flat base gives you a smooth surface that creates the clean, classic look these cookies are known for.
Keep Your Spoon Wet When Shaping
Because this eggless batter is thick and sticky, it will not spread out on its own while baking.
My favorite trick here is to keep a small bowl of water right beside your baking sheet.
Dip the back of your spoon into the water before smoothing each mound into a flat, round disc.
Do Not Skip the Lemon Extract
Even though it is only a tiny amount, I recommend keeping the lemon extract in the batter.
It will not make your cookies taste sour or overly fruity.
Instead, that small touch of citrus cuts through the rich sugar and gives you the authentic bakery flavor.
Try These Next
- Eggless Bakery Chocolate Chip Cookies
- Eggless Chocolate Whoopie Pies
- Eggless Classic NY Style Cheesecake
- Eggless Soft & Chewy Sugar Cookies
Questions You Might Have
Why do I need to ice the flat bottom of the cookies instead of the top?
Traditional black and white cookies are iced on the flat bottom to give you a smooth, level canvas for spreading the glaze.
The naturally rounded top rests firmly on the counter, which keeps your line clean and prevents the icing from sliding off the edges.
Eggless Black & White Cookies
Equipment
- hand mixer
- offset spatula
- baking sheets
- parchment paper
Ingredients
For the Cookies
- 1/2 cup Unsalted Butter, Softened
- 3/4 cup Granulated Sugar
- 1/4 cup Sour Cream
- 1 1/2 tsp Vanilla Extract
- 1/4 tsp Lemon Extract
- 2 cups All-Purpose Flour
- 2 tbsp Cornstarch
- 1 tsp Baking Powder
- 1/2 tsp Baking Soda
- 1/2 tsp Salt
- 1/3 cup Milk
For the Icing
- 3 cups Powdered Sugar
- 1/4 cup Hot Water, Divided
- 2 tbsp Light Corn Syrup
- 1/2 tsp Vanilla Extract
- 1/4 cup Unsweetened Cocoa Powder
- 1 oz Dark Chocolate, Melted
Instructions
- Preheat the oven to 350°F and line two baking sheets with parchment paper.
- In a large bowl, beat the butter and sugar with a mixer on medium speed for 2-3 minutes, until light and fluffy. Beat in the sour cream, vanilla and lemon extract until smooth.
- In a separate bowl, whisk together the flour, cornstarch, baking powder, baking soda and salt. Add the dry ingredients to the butter mixture in three additions, alternating with the milk and mixing on low just until smooth. The batter will be thick and soft, like a very thick cake batter.
- Scoop 1/4 cup mounds of batter onto the prepared sheets, spacing them 3 inches apart with no more than 6 per sheet. Use the back of a damp spoon to gently spread each mound into a 3 inch round.
- Bake for 14-16 minutes, until the edges are barely golden and the tops spring back when lightly pressed. Cool on the sheet for 5 minutes, then transfer to a wire rack to cool completely.
- In a medium bowl, whisk the powdered sugar, 3 tbsp hot water, corn syrup and vanilla until thick, smooth and glossy. Transfer half of the icing to a second bowl and stir in the cocoa powder, melted chocolate and remaining 1 tbsp hot water. Cover the chocolate icing with plastic wrap so it stays soft while you work.
- Turn the cooled cookies flat side up. Using an offset spatula, spread the vanilla icing over one half of each cookie and let it set for 15 minutes.
- Spread the chocolate icing over the other half, adding a few drops of hot water if it has thickened. Let the icing set for 1 hour until firm. Makes about 12 large cookies.